
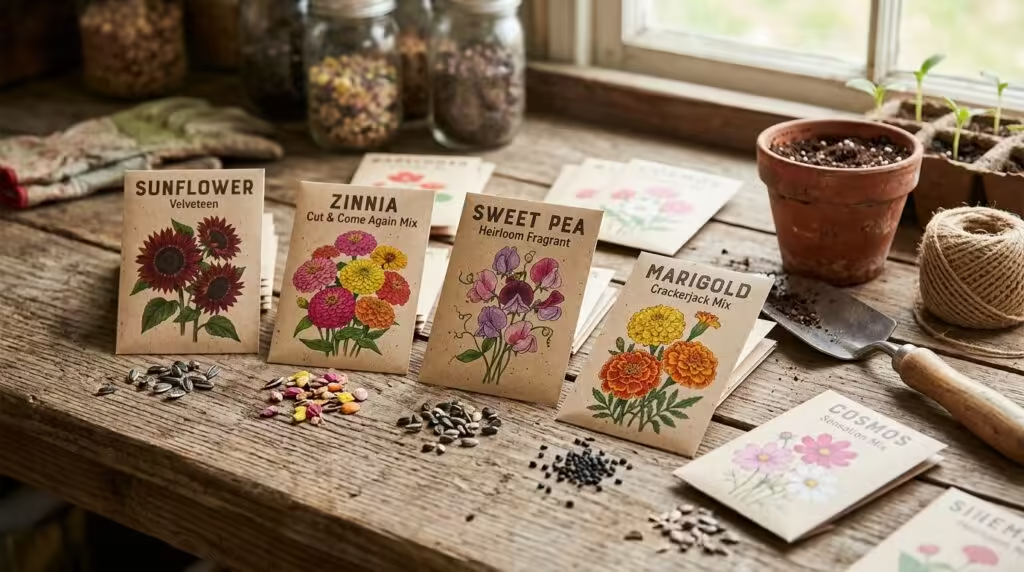
Every vibrant, color-drenched garden starts the same way: as a tiny, unassuming seed. Ornamental plants — grown purely for their beauty rather than for food — cover an enormous range of flowers, foliage, scents, and shapes, and they’re capable of turning any patch of dirt into a living work of art. From the bold blooms of a petunia to the intricately patterned leaves of a coleus, ornamental plants are the backbone of good garden design, offering beauty, privacy, and real ecological perks like attracting pollinators and improving air quality.
Growing ornamental plants from seed means getting a front-row seat to the entire life cycle — watching a dormant seed transform into a full, blooming specimen. It’s genuinely one of the most rewarding ways to connect with nature, and once you’ve done it, it’s hard to go back to buying plants already grown.
Why Grow Ornamental Plants in Your Farm or Nursery?
Growing ornamental plants from seeds is a smart choice for farmers and nursery owners. It helps reduce costs, gives you more plant options, and allows you to produce healthy plants for sale. Here are the main benefits:
1. Save Money
Ornamental plant seeds are much more affordable than buying ready-made plants. One packet of seeds can produce many plants, helping you grow more while spending less.
2. More Plant Varieties
Seeds give you access to a wide range of flower and ornamental plant varieties. You can grow unique and colorful plants that may not be available in local nurseries, making your farm or nursery stand out.
3. Better Quality Plants
When you grow plants from seeds, you control every stage of growth. You can choose good-quality soil, proper nutrients, and the right growing conditions to produce strong and healthy plants.
4. Higher Profit Potential
Healthy ornamental plants are always in demand for home gardens, landscaping, parks, hotels, and commercial spaces. Growing your own plants from seeds can increase your profit by lowering production costs.
5. Reduced Risk of Pests and Diseases
Seeds are generally cleaner than purchased plants, which may carry pests or diseases. Starting from seeds helps you grow healthier plants and reduces the chances of crop loss.
6. Eco-Friendly Farming
Growing from seeds reduces the use of plastic nursery pots and lowers transportation needs. This makes your farming practices more environmentally friendly.
7. Better Crop Planning
By starting seeds at the right time, you can prepare plants for peak selling seasons. This helps ensure a continuous supply of ornamental plants throughout the year.
You can also read : How to choose the best quality of seeds for farming in India
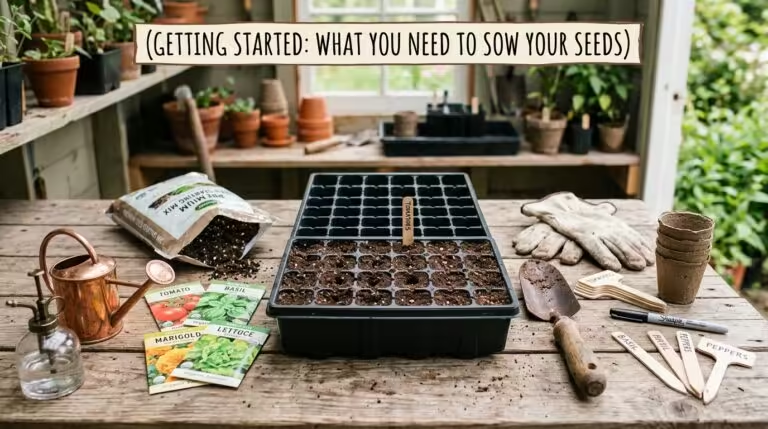
Getting Started: What You Need to Sow Your Seeds
1. Choosing the Right Seeds and Supplies
Start by picking seeds suited to your climate and the look you’re going for. Factor in bloom time, mature height, and color so your garden reads as one cohesive design rather than a random assortment.
Then gather your core supplies:
- Seed starting mix. This one matters. Regular potting soil is too dense for young roots — seed starting mixes are light, airy, and finely textured, giving delicate roots the drainage and aeration they need. Most are sterile too, which lowers the risk of disease early on. Common ingredients include peat moss and coir (both for moisture retention), plus perlite and vermiculite (for aeration and drainage).
- Containers. Seed trays with individual cells, small pots, or even repurposed containers all work fine, as long as they have proper drainage holes to prevent waterlogging.
- Plant labels to keep your varieties straight — trust us, they all look the same at the seedling stage.
- A mister bottle or gentle watering can for consistent watering that won’t disturb tiny seeds.
- A heat mat (optional, but worth it). Bottom heat can noticeably boost germination rates by keeping soil at an optimal 70–75°F (21–24°C).
- Grow lights (optional, especially useful indoors). A window sill rarely provides enough light intensity or duration, which often leads to tall, weak “leggy” seedlings. Grow lights fix that by giving your seedlings the light they actually need.
2. Preparing the Soil and Sowing the Seeds
Moisten the seed starting mix before filling your containers — you want it damp, not soggy, roughly the texture of a wrung-out sponge.
Fill your containers, pressing the mix down lightly to create an even surface, leaving about ¾ inch of space at the top. Don’t over-compact it — roots need air to breathe.
Sow your seeds according to the depth listed on the packet. As a general rule, plant seeds about two to three times as deep as their diameter.
- Tiny seeds (like petunia or snapdragon) often need light to germinate, so press them onto the soil surface or cover them with only a thin dusting of vermiculite.
- Larger seeds can go into shallow furrows or individual holes. It’s common to sow 2–3 seeds per cell and thin out the weaker ones later.
- Water gently, either misting the surface or watering from the bottom, to settle the seeds and ensure good seed-to-soil contact.
A few seeds need extra help breaking dormancy:
- Stratification mimics a cold season some seeds need before they’ll germinate — usually done by refrigerating seeds in a moist medium for several weeks.
- Scarification involves gently breaking or softening the hard seed coat so water can actually get in.
You can also read : Best Hybrid Okra Seeds for Higher Yield and Better Profit
3. Creating the Ideal Growing Environment
- Warmth: Most seeds germinate best between 70–75°F (21–24°C). A heat mat under your trays makes it easy to hold that temperature steady.
- Light: Once seedlings emerge, they need plenty of light — aim for at least six hours of direct sun a day, or supplemental grow lights placed close by if you’re growing indoors. Without enough light, seedlings stretch out and become weak (a process called etiolation).
- Humidity: Higher humidity helps germination, so cover trays with a clear plastic dome or plastic wrap to lock in moisture. Once seedlings appear, remove the cover to let air circulate and keep fungal issues at bay.
Once your seeds have germinated, the real work of raising strong plants begins.
Nurturing Seedlings Into Mature, Healthy Plants
1. Essential Seedling Care
- Watering: Keep the soil evenly moist — think “wrung-out sponge” — never bone dry, never waterlogged. Bottom watering works well here, letting roots pull up moisture without disturbing fragile stems.
- Light: If your seedlings start looking tall and stretched, that’s your cue to move grow lights closer or increase natural sunlight.
- Airflow: Good air circulation strengthens stems and helps prevent damping-off, a common fungal disease in seedlings. A gentle fan works well — just keep seedlings away from cold drafts.
- Fertilizing: Seed starting mixes are typically low in nutrients. Once your seedlings grow their first set of “true leaves” (the leaves that actually resemble the mature plant, not the initial seed leaves), start feeding them a weak, balanced liquid fertilizer at half strength.
2. Thinning and Transplanting
Thinning: If you sow multiple seeds per cell, thin them once true leaves appear — pinch off the weaker seedlings at the soil line and let the strongest one keep all the resources.
Transplanting (“potting up”): Your seedlings are ready to move into larger pots once they’ve developed two sets of true leaves, roots start peeking out of the drainage holes, or things simply start feeling crowded.
- Handle seedlings by their leaves, not their stems — stems bruise and snap far too easily.
- Plant them at the same depth they were growing before, in a fresh, moist potting mix, and gently loosen the roots to encourage them to spread into their new space.
You can also read : Disease Resistant Vegetable Seed Varieties: The Secret to Higher Yields and Healthier Crops
3. Hardening Off: The Final Step Before Planting Outdoors
Hardening off is the gradual process of introducing indoor-grown seedlings to outdoor conditions — sun, wind, and cooler temperatures — before they move to their permanent home. Skip this step, and you risk transplant shock undoing weeks of careful growth.
Typical timeline: 7–10 days.
How to do it:
- Start by placing seedlings outside for an hour or two in a sheltered, shady spot during the mildest part of the day.
- Gradually increase their time outdoors each day, slowly exposing them to more direct sun and wind.
- Ease up slightly on watering during this stretch, but never let plants wilt — and hold off on fertilizing.
- Bring plants back indoors overnight, especially if temperatures are expected to dip below 45°F (7°C) for hardy plants, or 60°F (15°C) for warm-season varieties.
Once hardening off is complete, your seedlings will be fully ready for their permanent spot in the garden — strong, adapted, and set up to thrive.